
Vouchers
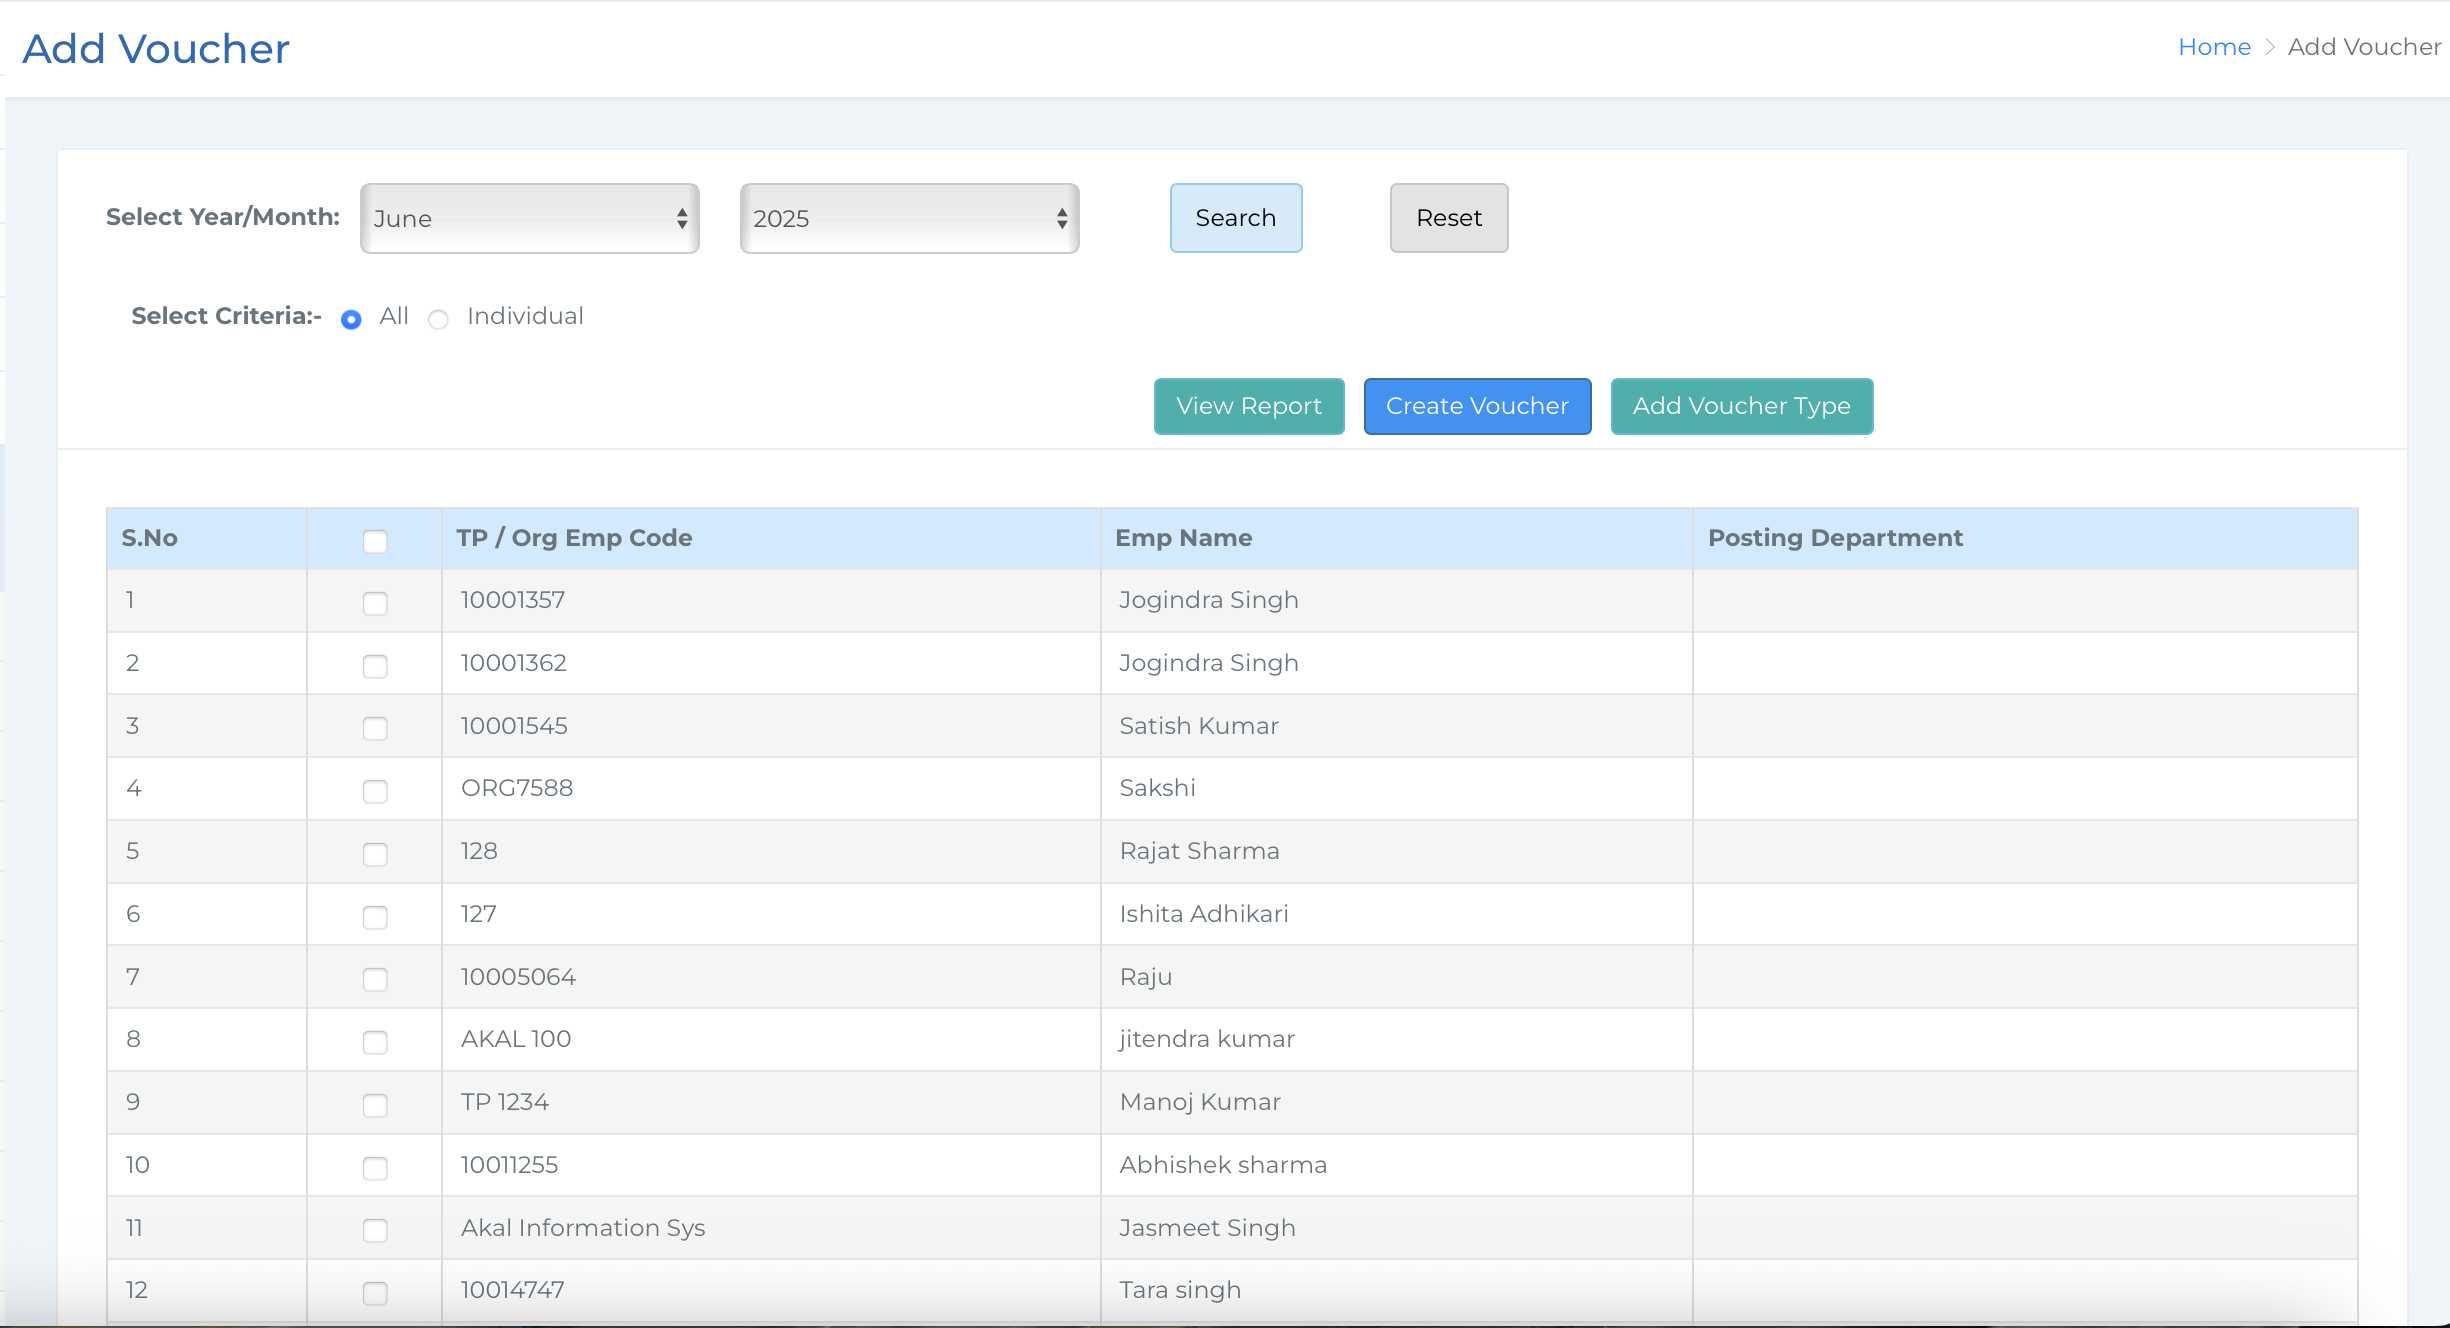 In this section, you can filter voucher records by selecting the month, year, and criteria - whether you want to view the data for all employees or a specific individual. A reset button is also available if you wish to clear the filters and start over. After setting your filters you can:
- View Report - To view the report, click on "View Report" after setting your initial filters. Once clicked, additional filter options will appear, such as From Date, To Date, and Ledger Type (Debit or Credit), allowing you to narrow down your results further.
-
Create Voucher - Here you can select either individual or multiple employees and proceed
by clicking the Create Voucher button.
● You’ll then be redirected to a new page where you’ll need to choose whether the
voucher type is Debit or Credit.
● After selecting the voucher type, you’ll be asked to choose a type based on your
selection - for example, Credit types include Reimbursement, Loan, Additional
Income, and Advances, while Debit types include various Deductions.
● Once the type is selected, you’ll then choose a subledger from options like Loan
Recovery,recovery, Fuel, LWF, Lunch, OT, etc.● A table will then appear with details such as the subledger name (as the head),
amount (which you can enter), ledger type, taxable status, and whether the entry is
billable or non-billable (selectable as Yes or No).
● You’ll also see an Action column with a cross icon to remove the row in case of
any changes.
● Finally, click the Submit button at the bottom to create the voucher against the
selected employee. A notification will also be sent to the employee via the
TankhaPay mobile app.
● Once the voucher is submitted, you will be redirected to the Reimbursement page
under the Payout section, where you can view the voucher that has been created.
This page allows you to track and manage all submitted vouchers, ensuring
transparency and easy access to reimbursement details.
-
Add Voucher Type -
● When you click on this option, you first need to select the type of voucher: Credit
or Debit.
● After selecting the type, you’ll then be asked to choose the category/type (e.g.,
Loan, Reimbursement, Deduction, etc.).
● Once both selections are made, a confirmation pop-up will appear asking if you
wish to add a subledger.
● Upon clicking OK, a table will be displayed showing the Master Ledger Name,
Ledger Type Name, and Parent Ledger Name (based on your previous selection).
● You will also find a field to enter the Ledger Name that you want to create.
● After filling in the details, click on Submit to successfully add the new sub-ledger.
-
Loan :
● If you select Credit and choose Loans as the type, a different table will appear.
● Here, you’ll need to provide the Loan Sanction Date, Loan Amount, Number of
Installments, and Annual Rate of Interest.
● Based on this information, the system will automatically calculate the Total Interest
and Monthly EMI.
● You can also specify whether the loan is Billable or not.
● Once saved, these details will reflect in the Payouts > Advances and Loan section.