
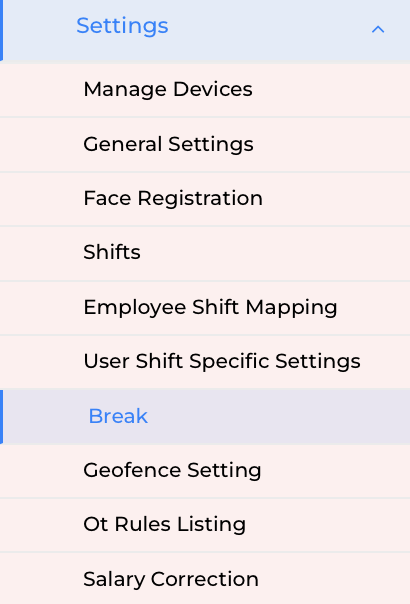
Settings
- Manage Device (Biometric Integration) - In this, you can add and manage devices, such as biometric devices. Use filters to search for devices by name and status, such as Active, Inactive, Verified, or Not Verified. You also have the option to add a new device by entering details like machine punch type, serial number, IP address, location, and any additional remarks. Once completed, click Add to save the device. This feature is primarily used to sync biometric devices with our software
-
General Settings - This allows you to configure key attendance and payroll-related criteria to align with your organisation’s policies.
User Shift Specific Setting -
This section allows you to define attendance and working hour rules either for specific shifts or individual users. You can view existing settings, edit them, or create new ones by clicking on "Add Setting".
While adding a setting, you'll need to provide a setting name and choose the setting type(Shift or User). You can enable or disable mobile check-in/check-out, and control access to the attendance calendar - allowing employees to either mark their attendance or only view their status.
Under Working Hours, you can define how hours are calculated - either based on the first check-in and last check-out or using all valid check-ins and check-outs. You can also specify minimum hours required per day, choosing between strict or lenient enforcement. There’s an option to show overtime/deviation, and you can enable maximum hours per day if needed. The round-off feature lets you set a rounding period (in minutes) for first check- in, last check-out, and total worked hours. If employees don’t meet the required hours - even after the round-off - they may face salary deductions as per policy.
You also have the option to enable a grace period and define specific rules for identifying deviations. These rules allow you to set conditions such as: First check-in is late by, Last check-out is early by, Working hours are less by and Additional late check-in rule (R2) all in minutes. You can set up the system to decide when these deviations should lead to salary or leave deductions. This can be based on how often they happen - like every week, month, or pay period - or only after they occur a certain number of times. If you choose to deduct leave for these deviations, you can also decide the order in which different types of leave will be used. The system lets you pick the specific or all leave categories from which the days should be deducted, making the process clear and manageable.
Break - The Break section allows you to view all existing breaks along with their details such as duration, time range, pay type (paid or unpaid), mode (automatic or manual), and current status. You can edit or delete any of these breaks as needed.
To add a new break, simply click on the Add Break button and fill in the required details like the break name, icon, pay type, mode, start and end time. Once the times are entered, the system will automatically calculate the total break duration. Additionally, you can choose which shifts the break will apply to by selecting them under the Applicable Shifts option.
3. Geofence Setting - Geofencing is a location-based feature that tracks if an employee enters or exits a defined geographical area during work hours, helping ensure accurate attendance and productivity.
The Geofence Settings section displays all the organisation units you've created under Business Settings, along with the total number of employees in each unit. If geofencing is enabled for a unit, you'll see its configured latitude, longitude, and radius.
4. OT Rules Listing - In the OT Rules section, you can view all the existing overtime rules you’ve created, with options to edit or delete them as needed. To add a new overtime rule, simply click on "Add OT Rule", give your rule a name, and it will appear in the list.Once added, click the edit icon next to the rule to configure its details. You can set the overtime rate, double-time rate, and choose the shift types the rule applies to. You’ll also have the option to define when the overtime becomes applicable - whether on individual days, weekly, the 7th consecutive working day, or on holidays. For each case, you can specify the number of hours after which overtime or double time should be calculated.